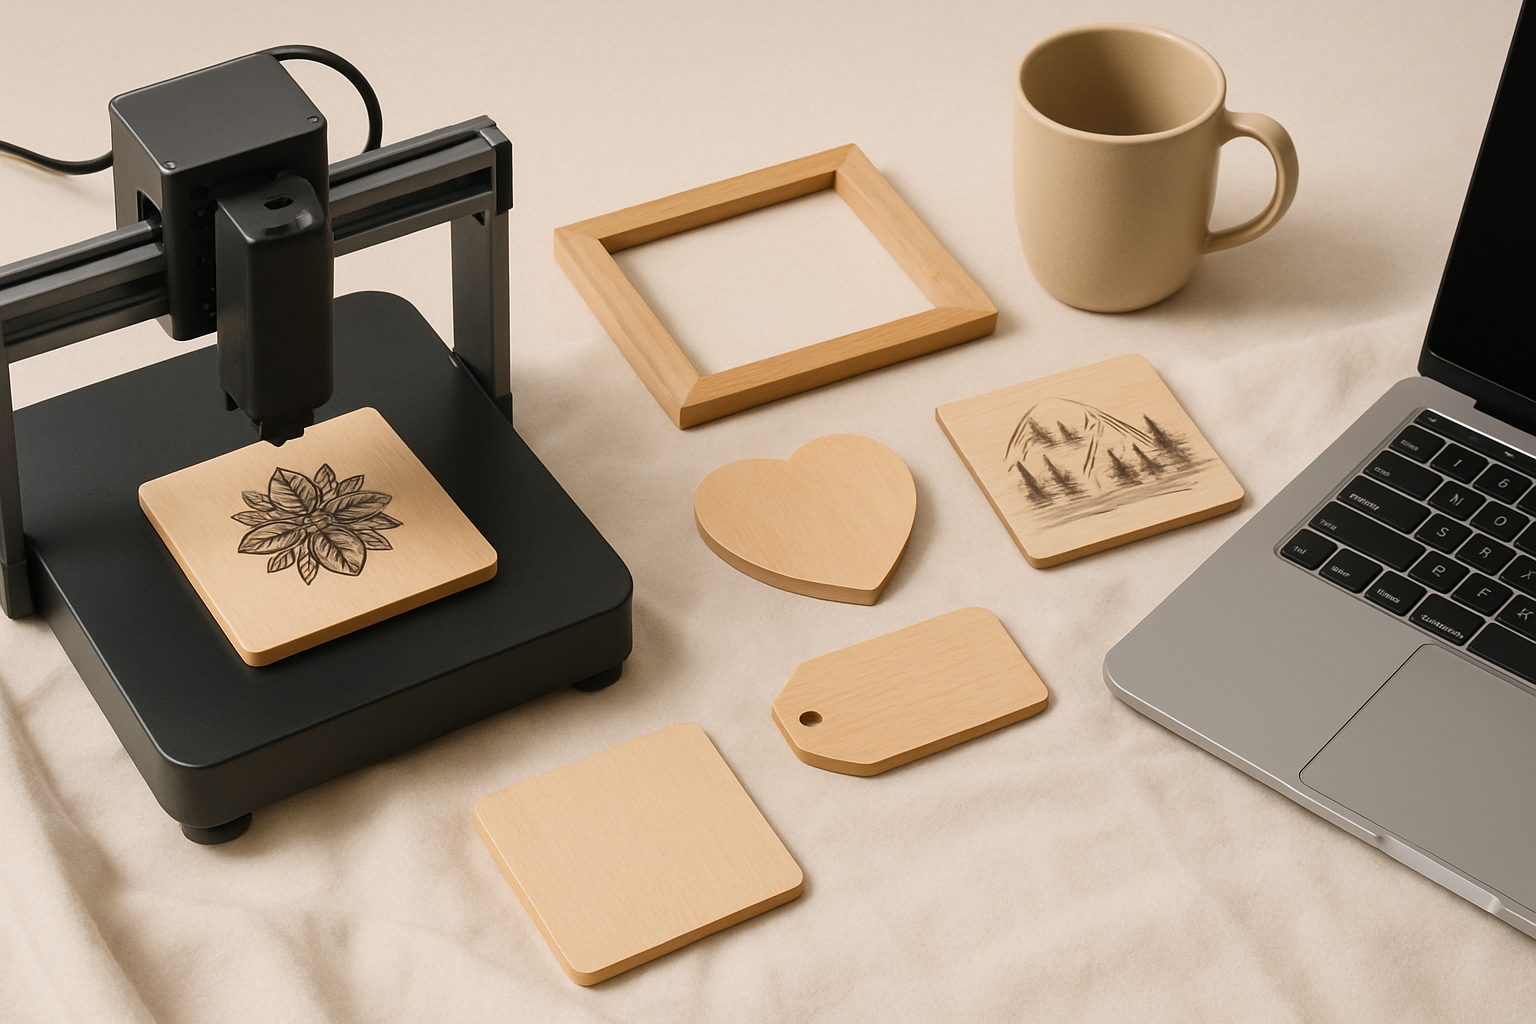
Best Laser Engraver for Wood UK 2026: Crisp Burns on Hardwood, Ply & MDF
Choosing the right laser engraver for wood comes down to understanding what your material demands. Hardwood, plywood, and MDF each behave differently under the laser—and the machine specs that matter aren't the flashy ones you'll see in marketing bumph.
The core difference between a machine that produces crisp, clean burns and one that leaves scorched, fuzzy edges comes down to power stability, beam quality, and cutting depth. When you're working commercially, kerf width (the material lost to the laser beam) and consistent depth matter. A wobbly cut through 4mm ply isn't an option if you're selling finished products.
Power vs. Depth: What Actually Matters
Most UK hobbyists and small-business owners start with 40W to 80W machines. That sounds simple until you realize 40W from a well-tuned optical path cuts cleaner than 50W from a machine with poor lens quality or alignment.
For through-cutting plywood—the operation that separates machines that'll do the job from ones that'll frustrate you—you need:
- Consistent power delivery: Tube degradation ruins cut quality. A CO₂ laser at 80% of its rated power cuts noticeably worse than one running fresh at 60W.
- Tight focus: A beam waist under 0.2mm means you're removing less material per pass on the traverse. Thinner kerf (typically 0.3–0.5mm on ply) means less waste and sharper edges.
- Stable Z-height control: Even 0.5mm variation between passes shows as uneven burn depth on hardwood. A reliable autofocus system or manual height calibration is essential.
3mm birch ply needs around 80W at 10–15mm/s for through-cutting; 6mm ply needs either a 100W+ machine or multiple passes. MDF is friendlier—it cuts at similar speeds but with slightly less kerf, since it's homogenous. Hardwoods (oak, walnut, ash) engrave beautifully but won't cut through beyond 3–4mm without a 100W+ machine or accepting charred edges.
Hardwood Engraving: Where Cheap Machines Disappoint
Hardwood engraving reveals everything wrong with a mediocre laser. Dense wood like walnut or oak requires precise power modulation to get detail without burning the surroundings. A machine with poor beam profile (uneven intensity across the spot) produces uneven burns.
The sweet spot for hardwood work is machines with:
- Adjustable power in at least 1% increments (not 10% steps)
- A lens with focal length between 50–63.5mm (most 40W hobby machines use 50mm)
- Clean optics—dust on mirrors kills beam quality faster than tube age
If you're engraving walnut boxes for gifts or personalised gifts for clients, invest in a decent air-assist system. It's not optional. Air-assist pushes burning particles away from the cut edge and keeps the optics cleaner, which directly improves edge crispness. A basic diaphragm pump (around £80–150) transforms results on hardwood.
Plywood: Cut-Through vs. Surface Engraving
Plywood sits in an awkward middle ground. The veneer layers and glue lines scatter the beam differently than solid wood, and you're making two decisions for every job: go through, or surface only?
For through-cutting ply in a commercial context:
- Use 3mm birch ply for fine detail work (allows 100% cut-through at reasonable speeds)
- Test your material before committing to a batch—even "3mm" ply varies by ±0.2mm depending on the supplier
- Track your focus height obsessively; the difference between a clean cut and a half-burn is often under 1mm on the Z-axis
Surface engraving (scoring or light burning the top layer) is where cheaper machines actually perform okay. You're not demanding through-cutting consistency, so power wobbles matter less. But even here, kerf width affects aesthetics. A narrow, sharp burn looks professional; a wide, fuzzy burn looks amateur.
MDF: The Forgiving Option
Medium-density fibreboard cuts like a dream compared to ply. Uniform density means predictable power requirements and no surprise hard spots. A 60W machine will cut 6mm MDF cleanly; 80W handles 9mm. Engraving is even less fussy.
The catch: MDF produces more smoke, which fouls optics faster. Budget for monthly mirror cleaning if you're running MDF production. Use a proper fume extractor (not just a basic fan) to avoid inhaling fine particulates and to keep your workshop from smelling like charred chipboard for days.
Practical Buying Guide
For surface engraving on hardwood and light ply work: A 40W machine with solid optics and autofocus (£1,200–1,800) works well. You're not pushing it hard, so tube life is good.
For through-cutting 3mm ply and hardwood boxes: Step to 80W with a proven optical design (£2,000–3,500). Brands that publish actual beam specs rather than just "80W" tend to back up their claims.
For production work (cutting 100+ units monthly): 100W+ and a serious air-assist system. Expect £3,500–6,000. Tube life under production load is your real cost—budget for replacement tubes every 18–24 months.
Getting the Most from Your Machine
Once you've bought the right machine, software makes the difference. LightBurn is the industry standard for UK users—it lets you dial in power and speed with precision that stock software doesn't touch. A materials test file (cutting speed vs. power charts for your specific ply and hardwood suppliers) saves weeks of guesswork.
The final detail: always use the correct materials. Treated ply, PVC, or anything with chlorine produces hydrogen chloride gas when cut. Your lungs and your optics will thank you for sticking to natural wood, hardboard, and MDF.
More options
- xTool D1 Pro Diode Laser Engraver (Amazon UK)
- Sculpfun S30 Pro Laser Engraver (Amazon UK)
- Atomstack A20 Pro Laser Engraver (Amazon UK)
- Laser Engraver Safety Goggles (OD6+) (Amazon UK)
- Laser Engraver Air Purifier / Fume Extractor (Amazon UK)